I happen to think Sanitas has the perfect amount of teak woodwork. Just enough that she looks like a traditional sailboat inside and out. But not so much that I need to refinish a teak deck every year. When we bought her, the external teak woodwork was pristine! Absolutely perfectly finished. But, as the saying goes, you don’t know what you don’t know. And I definitely didn’t know how to maintain wood that is constantly exposed to sun and wind and saltwater. I did a pretty good job on the internal teak (hydrogen peroxide or vinegar to kill the mold, and teak oil to restore the finish and protect the wood) but I ignored the external teak and by the end of our first season and storage in the boatyard, she was a mess.
It’s hard to capture the extent of the wear and tear in photos, but here are a few attempts:

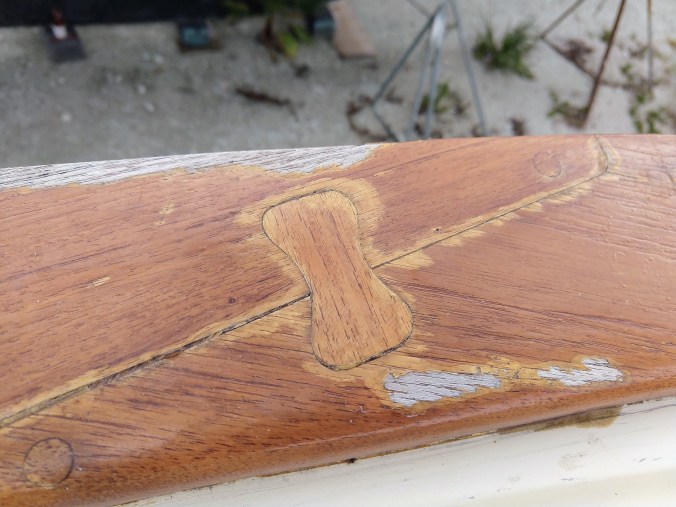
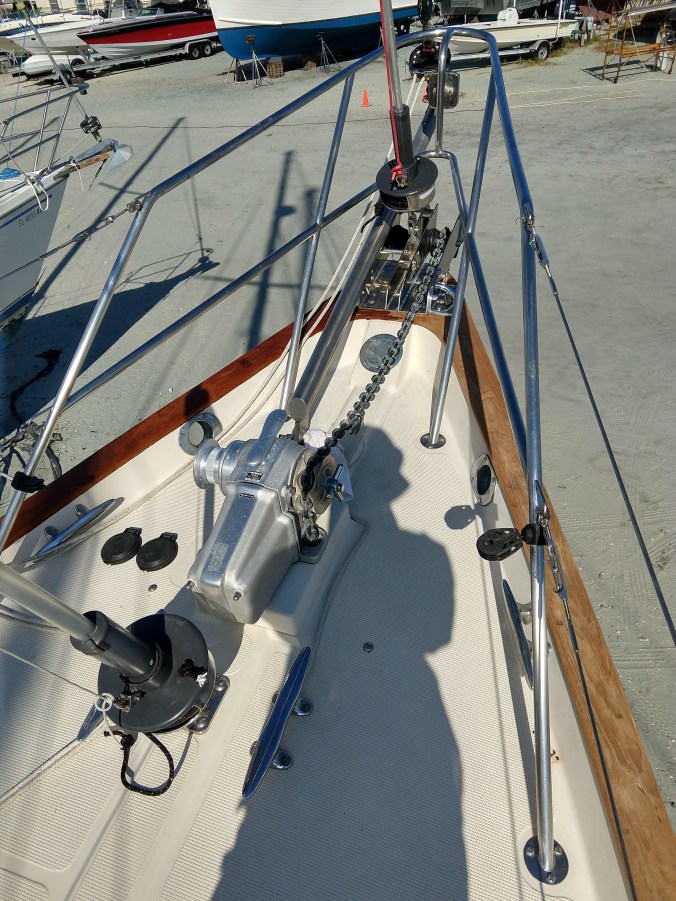
Here’s an example where the furling line chafed against the cockpit combing over time and wore a track in the teak finish.
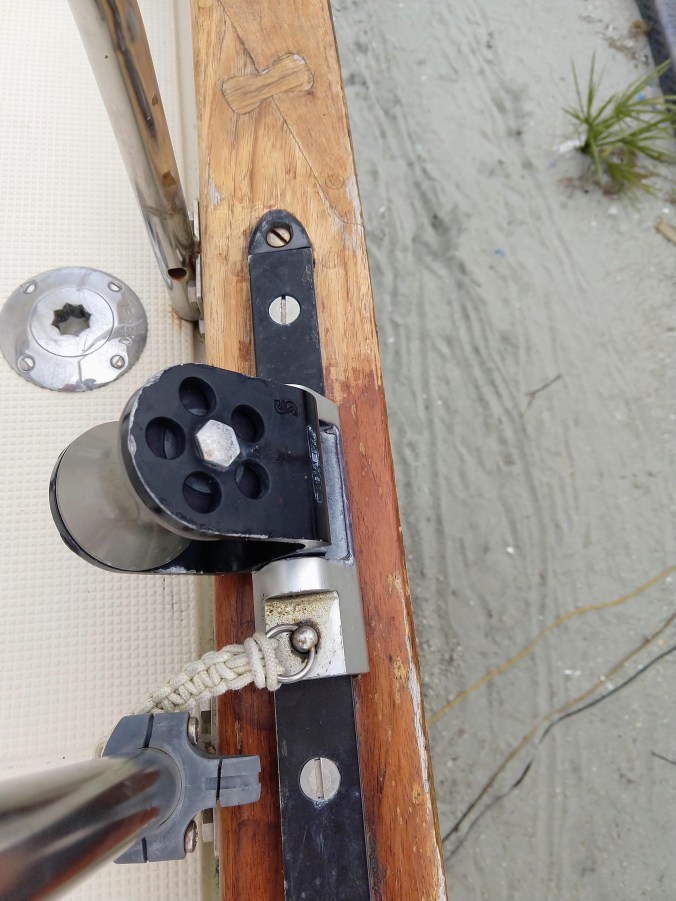
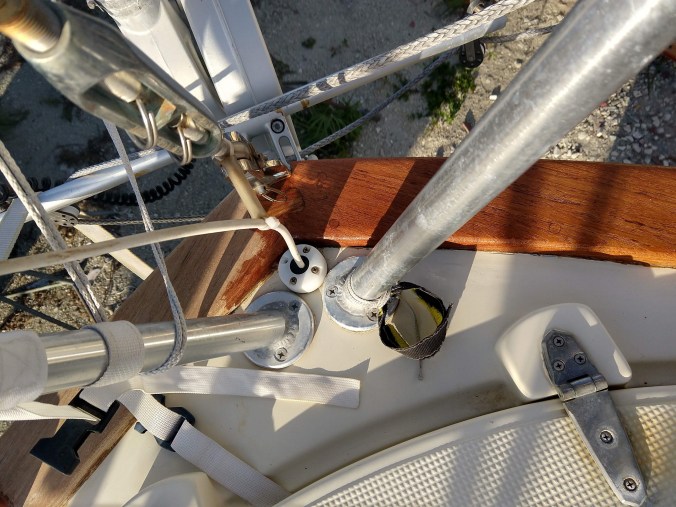
Here’s a basic example of the toe rail, and how the sun and salt wears away at the finish in strange ways.
I finally bit the bullet and committed to refinishing some of the teak while we had Sanitas out of the water in the boatyard. Of course, I had no idea how to do that, and was super afraid of making a mistake and ruining the wood instead of improving it, but ….. that’s what YouTube is for! Our friend Bob from SV Orion was a huge help, lending me a heat gun and providing lots of advise on scraping tools. And investing hours of sweat equity into this project! I did have to call a friend (Celia of SV Eileen) for more advice because her woodwork is absolutely pristine! This started about a six-week process…..
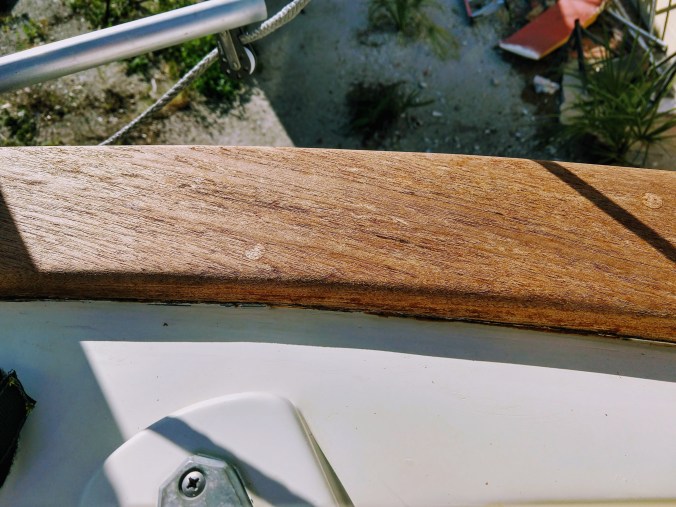
I decided to scrape the old finish off manually, rather than using a chemical stripper, so I spent at least seven hours a day in 90deg weather sitting in the sun, aiming a hair dryer on steroids at the wood, and scraping off layers of Cetol (and a bit of teak). In this picture, you can see the original surface at the bottom, and the scraped surface at the top of the screen.
Here’s another example. The wood on the lefts was protected by a shade cover all year, and the wood on the right was out in the sun. So I scraped it and worked to refinish it. After a lot of scraping, the teak looked so much better already:

Then the real work began…. sanding at least three times (I probably should have done it four times) with 60 grit sand paper, 120 grit sand paper, and finally 220 grit sand paper. Each time, I had to prep the hull with blue painters’ tape so as not to scratch the gel coat, and remove the tape between coats so as not to have the tape adhesive permanently attached.
In theory, this was easier to do in the boat yard, but this also required a ridiculous amount of climbing up and down rickety scaffolding and ladders to access the entire length of the hull. Did I mention the 90 deg temperatures?

After three rounds of sanding the wood work manually, I started the Cetol application. I used the same product that the previous owner, Jock, had used, just to be sure that the color of the finish matched, and I could do some of the woodwork now, and more of it over time. So a trip to West Marine to take them up on their price-matching policy was in order. Pro Hack! I walked in there prepped and ready – with a Chrome tab saved for everything I wanted to buy, and I saved about 40% over labeled prices. Employees at West Marine don’t even make you feel guilty about it. They are super helpful and accommodating when you’ve done your research and can show them a better price available on the internet.
You can see the improvement already….
After three coats of Sikken’s Cetol Natural Teak, we applied two additional coats of Sikkens Marine Gloss to ensure a shiny coating with better UV and saltwater protection. Oh my goodness, Sanitas looks so much better now! And now that I finished the toe rail and the rub rail, and I bought my own heat gun, I can refinish the rest of the external teak gradually over time. Because the toe rail looks SO good. Now, that the rest of the wood looks terrible. The boat projects never end…..

It looks lovely, Jen! You did a really thoughtful job and I’m impressed! Happy Thanksgiving to you and Mike!
LikeLike
Once I finished the toe rail and rub rail, I tallied how bad the rest of the teak looked. So I’ve started stripping the grab rails and cockpit combing. What have I done?
LikeLike
Last year we started removing Cetol after many years of use. Reason , Helmsman by Min Wax is what most are using and the wood grain and color are more “natural looking. Prep, number of coats, and cost about the same.
That’s where the similarities stop. After one year the helmsman looked ready for another coat or 2. Turns out thats helmsmans recommendation. Maintenance with cetol (sand a little , clean and coat )AREAS in need.
I have a question, helmsman can be purchased for $15.00-$60. What’s the difference ?
LikeLiked by 1 person
That’s interesting – I’ll have to look into Helmsman. I don’t think I’ve heard any of my cruiser friends using it. But I’m about done with using cetol. It’s very difficult to get a good smooth finish in hot and humid climates, and it doesn’t last nearly as well as I’d hoped.
LikeLike