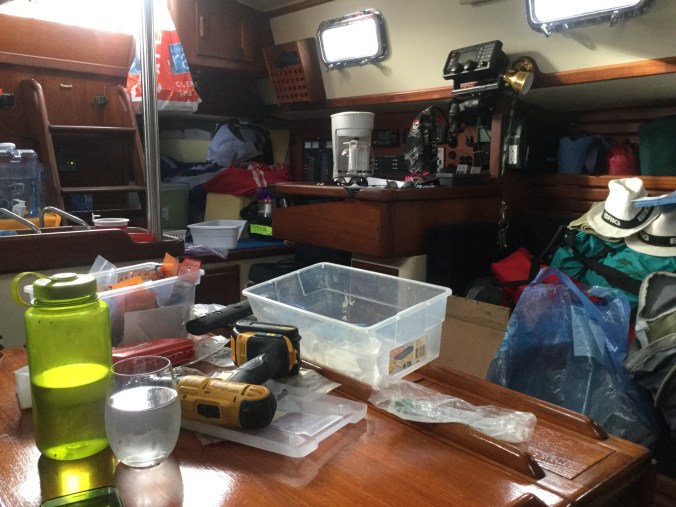
Jumping back in time a bit, this is the first project Capt. Mike and I took on when we returned to the boatyard after our summer vacation. We had done a pretty good job of preparing Sanitas for storage; we didn’t have any serious problems with bugs, mold, or rain water intrusion. Or at least that’s what we thought at first….
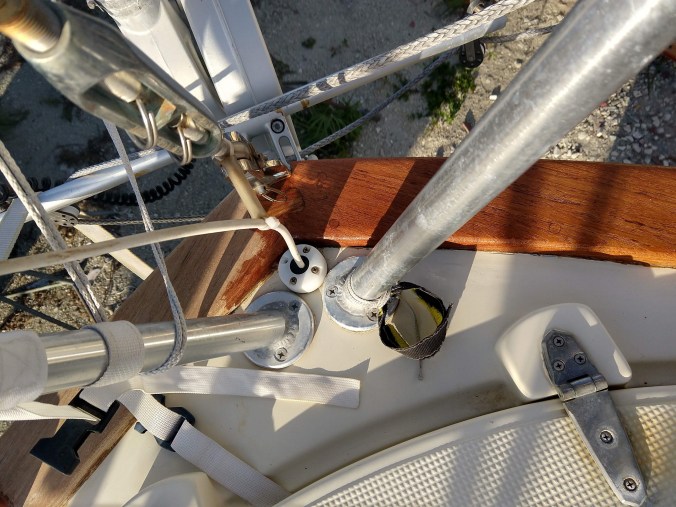
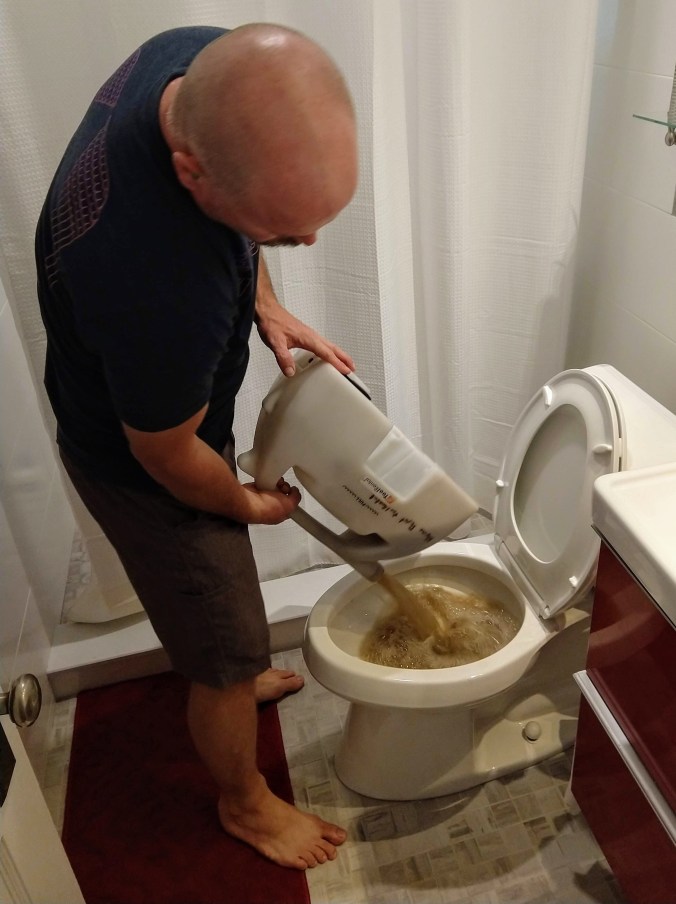
Upon closer inspection (i.e.: crawling back into the quarter berth and discovering it was squishy) we found three different leaks that needed to be addressed first thing! The simplest project was re-bedding the fresh water deck fill. Basically, the hardware that allows us to hook up a hose and fill the aft water tank was old, and no longer sealed properly. Now rain water could get around that fitting and flow into the cockpit lockers, soaking the items that we store there, and creating a rusty, slimy mess. Oh what a difference a year makes! Last year when we discovered leaky deck fittings, we agonized over how to fix them, what sort of adhesive to use, and the relative virtues of butyl tape. This year, Capt. Mike jumped right in and replaced the O-rings and fixed the seal in just a couple of hours. I think he even did it with only one trip to West Marine!

As always happens in boat projects, fixing one problem leads to finding a new problem. BECAUSE all that water had been leaking into the cockpit locker, the bulkhead that divides the storage locker from the living space inside the boat was seriously rotted, and was the cause of our squishy-slimy quarterberth. So Capt. Mike addressed Leak #2 by digging out the black, rotten wood with a screwdriver and scraper. Once he finally reached good (not rotten) wood, he used a dremel to cut out material to be patched. Now it turned into a normal boat project, because we had to put this whole effort on hold for a few days while ordering and waiting for delivery of new dremel heads – this project burned through them fast! After cutting out all the rotten wood, Capt. Mike cut a new solid piece of wood to fit the hole, epoxyed it in place, and applied fiberglass mat to seal it all. A final coat of paint to make it pretty, and this second leak was also vanquished.


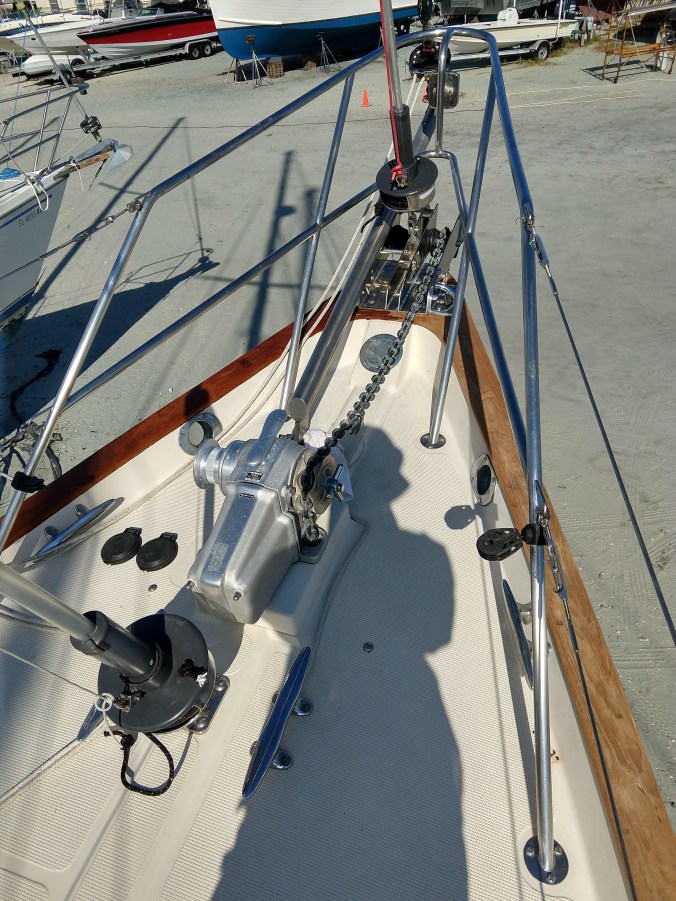
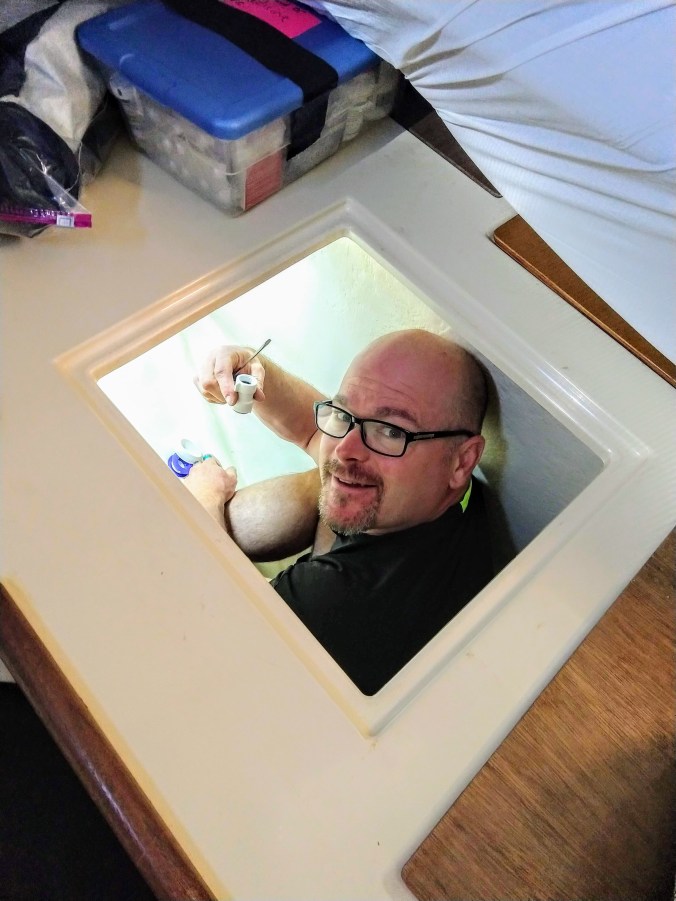
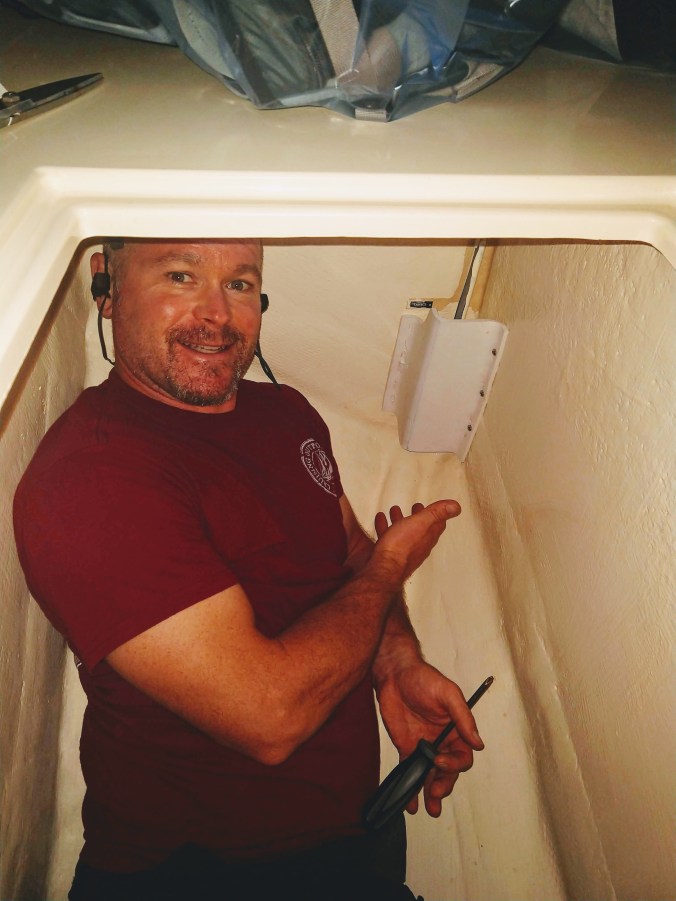
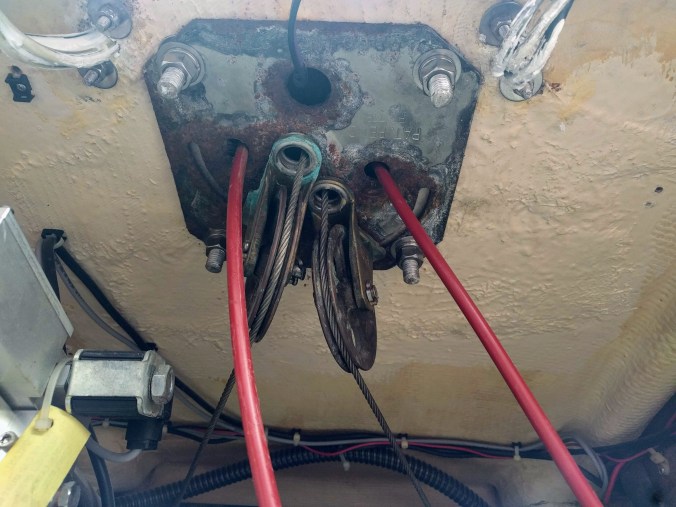
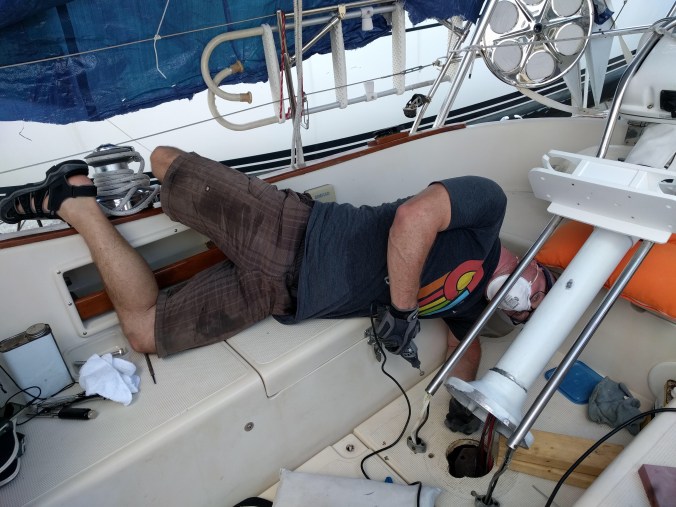
The final cockpit leak snowballed into quite a large project. During one of Capt. Mike’s frequent trips into the bowels of the boat to inspect the transmission and steering systems, he discovered that tons of water had been leaking through the base of the steering pedestal, causing lots of sensitive equipment below to rust and corrode faster than necessary. So we decided to re-bed the steering pedestal too.
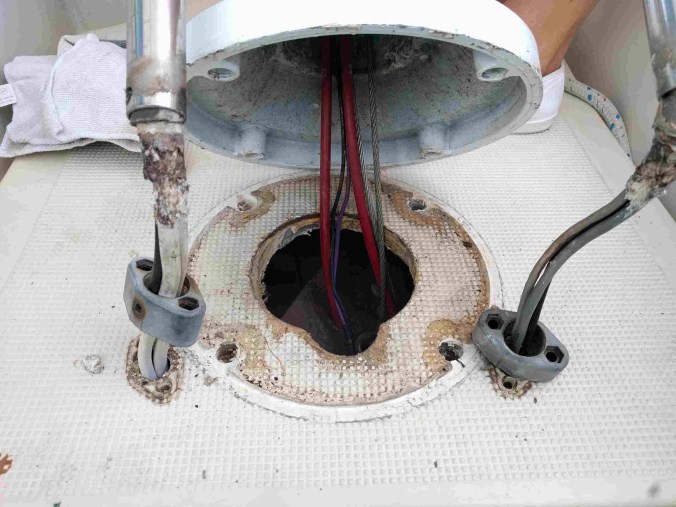
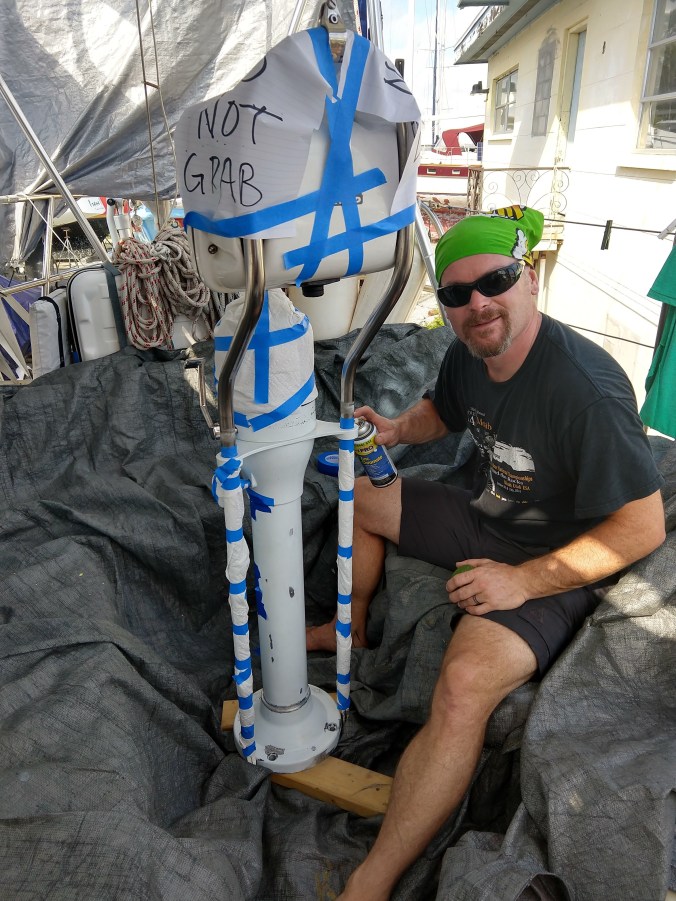
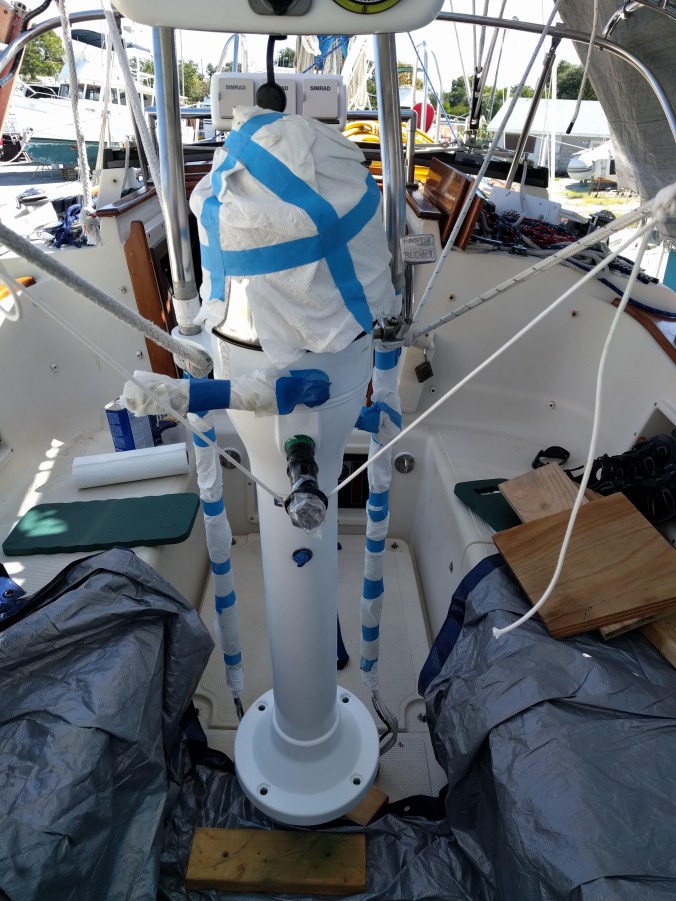
 But once we started looking closely at the steering pedestal, we noticed the paint had blistered and developed corrosion underneath. The quick re-bedding project turned into a week-long effort to sand down the blemishes, apply aluminum primer, and to apply four or five coats of white paint. All performed within temperature and humidity levels higher than the manufacturer’s recommendation! we had the cockpit all strung up with trip hazards and “Do not touch -wet paint” signs for over a week, even suspending the steering pedestal in mid air for much of the time to allow it to dry completely.
I have never claimed to have good balance, and if there’s something available to stub my toe on, I will stub it. So believe me, I was thrilled to finally complete these cockpit projects and to restore relative order to the boatyard chaos. And ….no more cockpit leaks!