On December 17th our temporary lease ran out and we officially moved onto the boat. Still in the boat yard, since our motor didn’t work. And we soon discovered that the stove didn’t work either, the fridge didn’t get cold, and the mattress was damp and smelly. I may have had a little bit of a meltdown….
Author: FloatsOurBoat
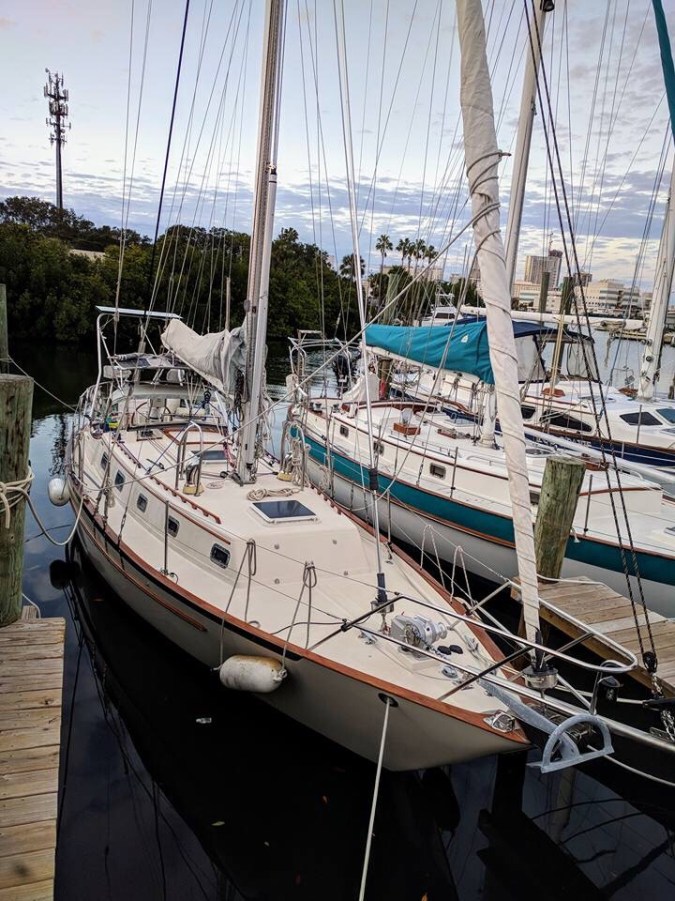
Launch Day !
After 8 weeks in the boat yard, we finally put our little sailboat back in the water. Talk about nerve wracking to watch a huge crane pick her up, and carry her across the yard swaying and swinging. I still can’t believe we actually splashed on December 14th – the day we just sort of threw out there months earlier when we first ordered our new fuel tank. Launching was complicated by the fact that we were waaaaaayyyy back in the corner of the boat yard, and Salt Creek needed to move several other boats around in order to get to us. Quite a complicated game of Tetris.
Speaking of fuel tanks, we finally got the new one from the Pacific Seacraft factory! Of course, nothing is ever easy, and we didn’t actually get the fittings to connect the tank to the motor. And, the tank is shaped a little bit differently than the old one, so some of the old hoses and wires don’t stretch to the new position. So it ended up a good news / bad news situation. We are in the water, but can’t actually go anywhere quite yet!


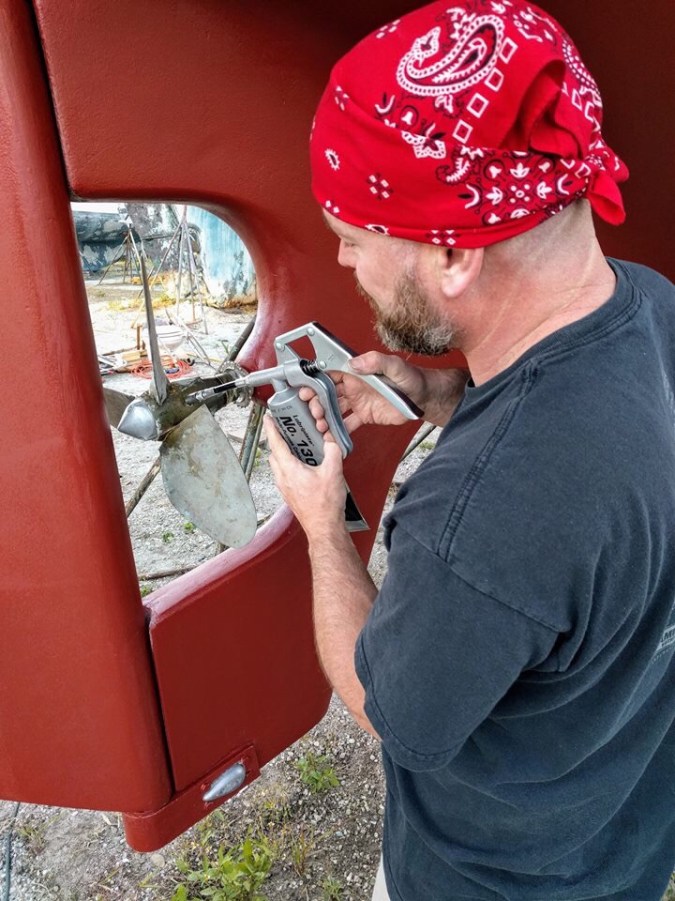
Tool of the Day … Prop Anode
When metals are placed in a conductive liquid, such as salt water, they create a battery. Current flows between the metals in the process of electrolysis and essentially eats away at one of the metals. The goal is to set things up so that electrolysis eats away at a piece of metal that we don’t really need, and doesn’t destroy the prop or the hull or the motor. So sailboats have small pieces of zinc on the hull and on the prop that are designed to crumble and fall apart over time keeping the important bits intact. One of the last things we did before putting our boat back in the water was to replace these zincs or sacrificial anodes. While we were at it, we greased the prop as well.
See how crumbly the old zincs are?

And a nice clean new one!
Mike loves his grease gun.
Looking good!

With a new coat of bottom paint and a new name decal, she is starting to look good and ready for the water!
More than you ever wanted to know about our toilet
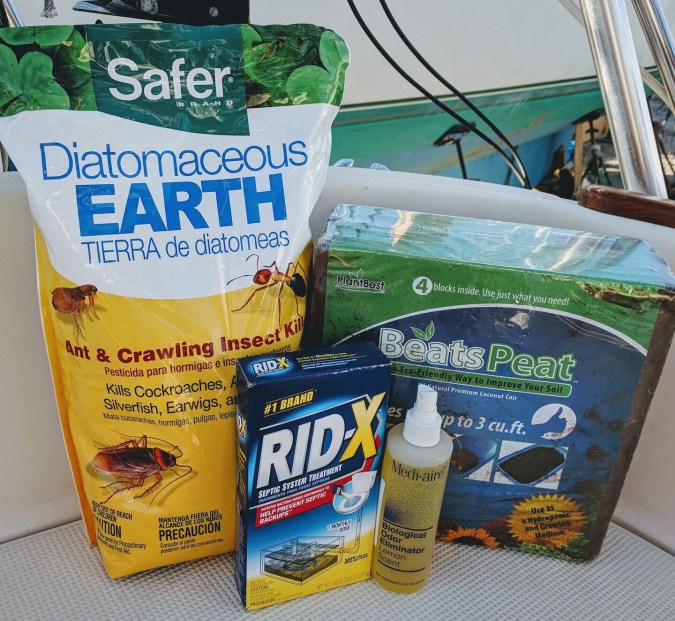
Ok, remember that decision to install a composting head? Well our Nature’s Head composting toilet finally arrived and is installed. We decided to use coconut coir as the composting material because it is very renewable, and is less likely to harbor bugs than the peat moss alternative. Following advice from Carolyn of The Boat Galley, we choose Planter’s Pride Beats Peat coconut coir. It took almost a week of allowing the coconut to sit in the sun, with one cup of water to achieve a big zip lock bag of dry and crumbly coconut husk. I just kept thinking of pina coladas! Then we filled the composting compartment of the toilet, and we’re good to go!


They say we should never experience odors or other unpleasantness, as long as the liquids and solids are stored separately. But just in case, I am well armed with every possible odor deterrent, insect fighter, and wetness absorber. Take that, nasty smells and gnats!
Of course, installing this toilet sounds simple, but….
- We had to address the boat wiring to hook up a ventilation fan
- Found a leak in the pump out deck fitting with rotten deck core that needed to be resolved,
- Had lots of pipes and holes and sea cocks to fill,
- And had to build a platform to support the toilet so that it would actually fit in our teeny, tiny bathroom (head)
Just another example of how one project begets another project and another project and another …..
