Do you smell smoke?

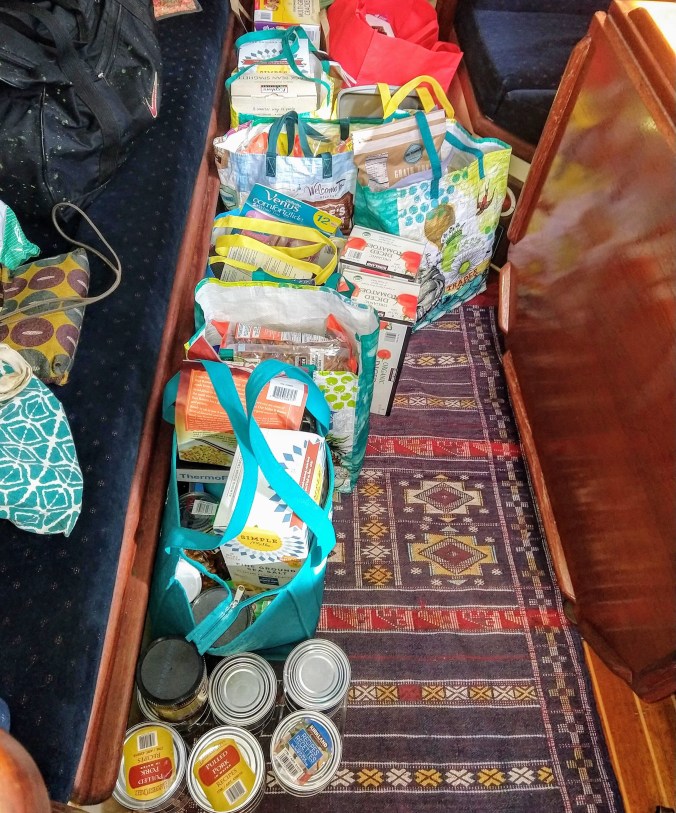
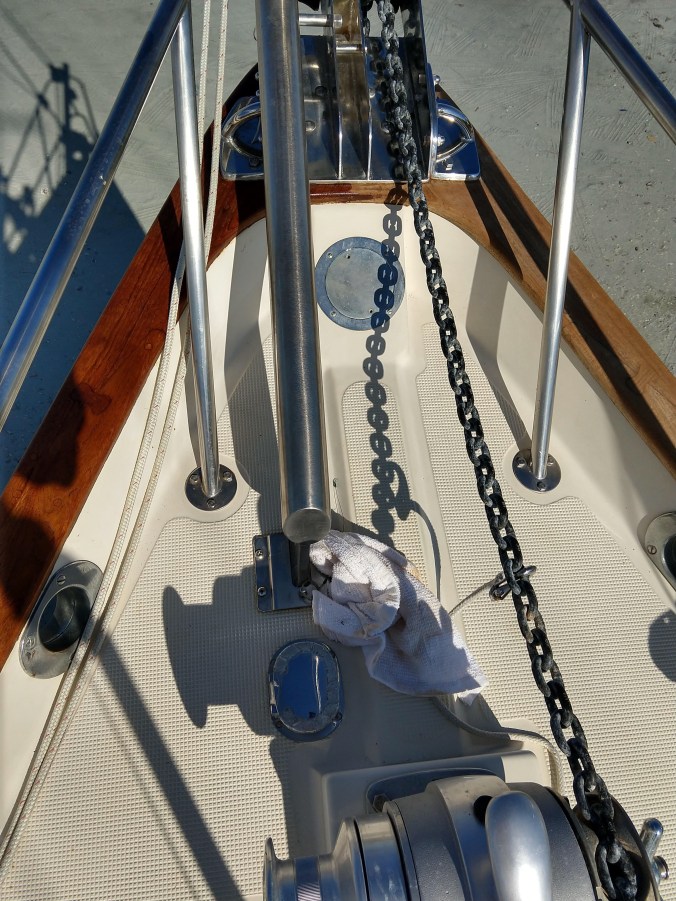
Only four days into our cruising season, and the interior of Sanitas already looks like this.

Yes, even after two months in the boatyard, and another month of boat projects at the dock, we’ve already got our first big repair to make.

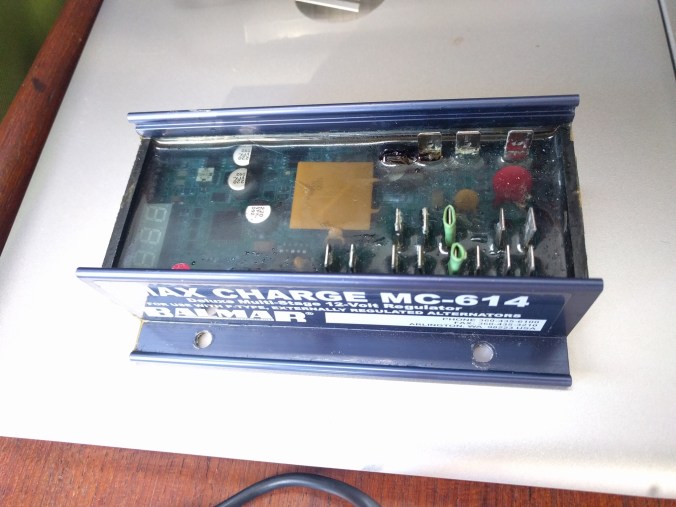
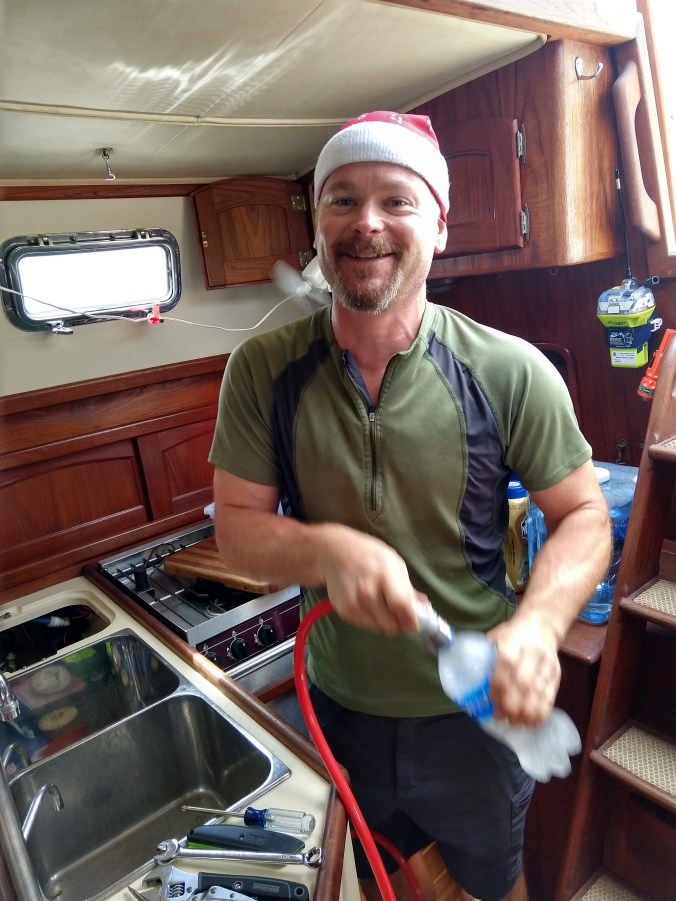
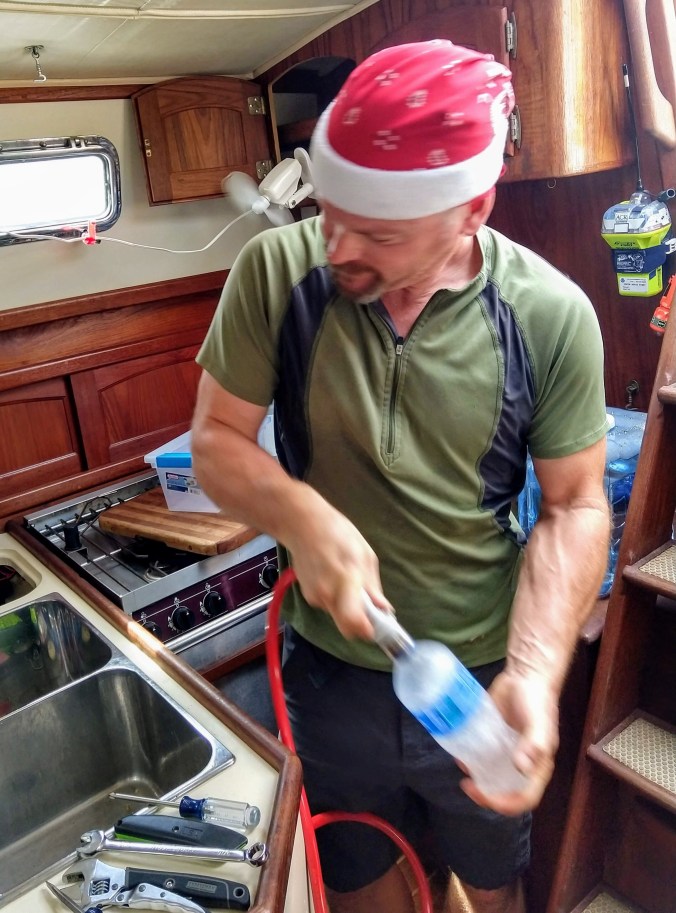
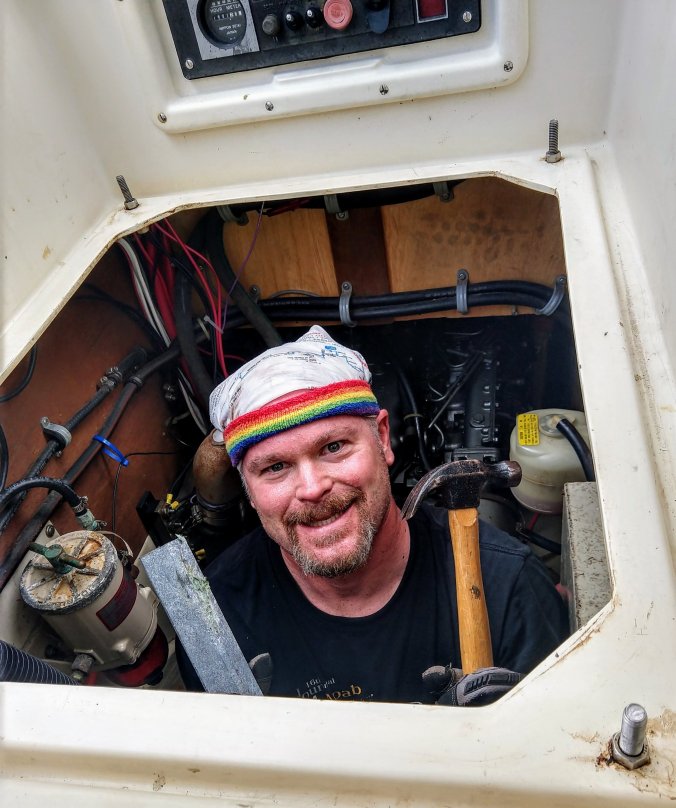
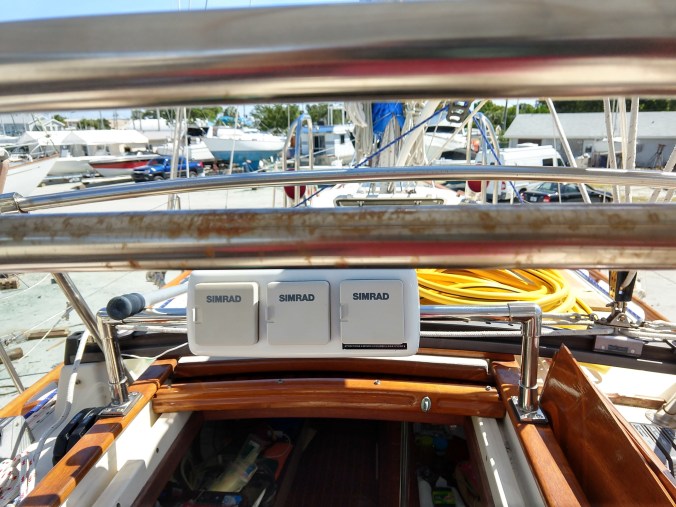
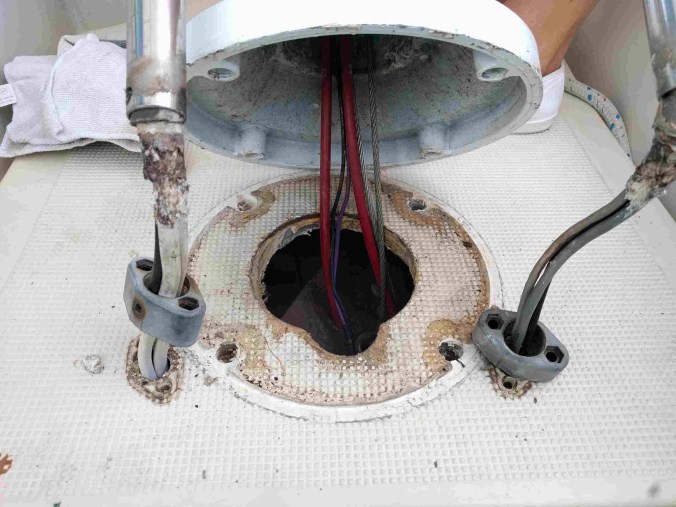
I’ve mentioned that we didn’t make power while running the motor on our way from St Petersburg to Key West. What a waste! So we’re trouble shooting the alternator and regulator in Key West where we can get marine grade parts, and even hire experts if needed. It seems to be a different problem than last year – this time the regulator doesn’t even show any error codes, but just has a blank display. So Capt. Mike tore everything apart and got to work.

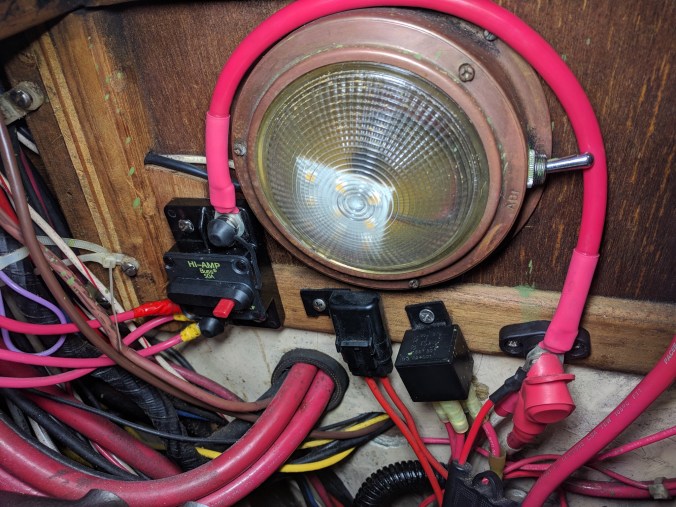
“Huh. Here’s a wire that’s not attached to anything, and here’s a barrel connector with an empty input. Could that be the issue?” (Acting on the Keep It Simple Stupid principle) So we were off to research the D+ wire and where it should go. A bit later: “Well, here’s a 10 amp fuse that’s blown. Could that be the issue?” So we need to dig out all of the electrical spare parts. Believe it or not …. we don’t have a 10 amp fuse. How is that even possible? So Mike tries a 15 amp fuse instead, just to get us one step forward in trouble shooting.

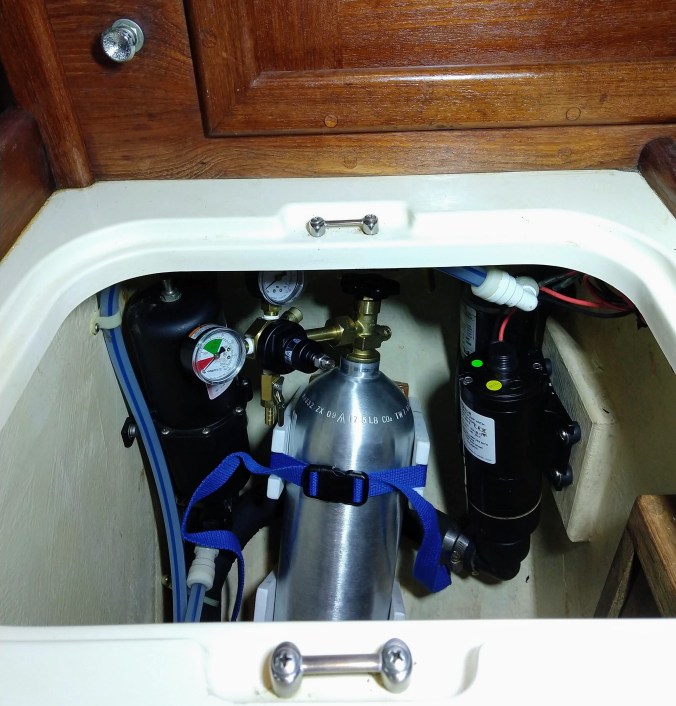
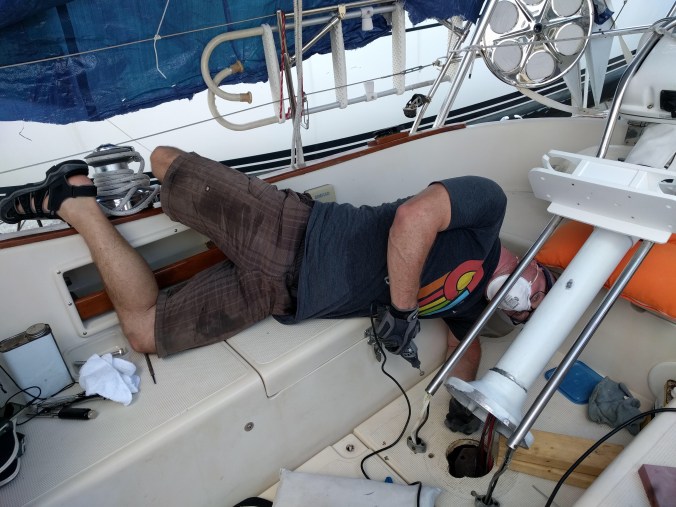
I had wedged myself into a small clear spot on the port settee, just big enough for my bum, and I’d started working on a blog post when I heard Capt. Mike shout, “I smell something burning! Come help me figure out where it’s coming from. Fast!!” I jumped over all the obstacles between my end of the salon and his, and reached under the nav table to grab a fire extinguisher, and tried to catch up with what was going on. The engine compartment was open, and that’s where we smelled smoke. Mike lifted the cover of the starter battery compartment just on the other side of a bulkhead, and a puff of smoke escaped. Yikes! Fire is one of the most dangerous things possible on a boat. If she capsizes, she’ll right herself, but if she catches on fire, it can all go up in flames pretty quickly.

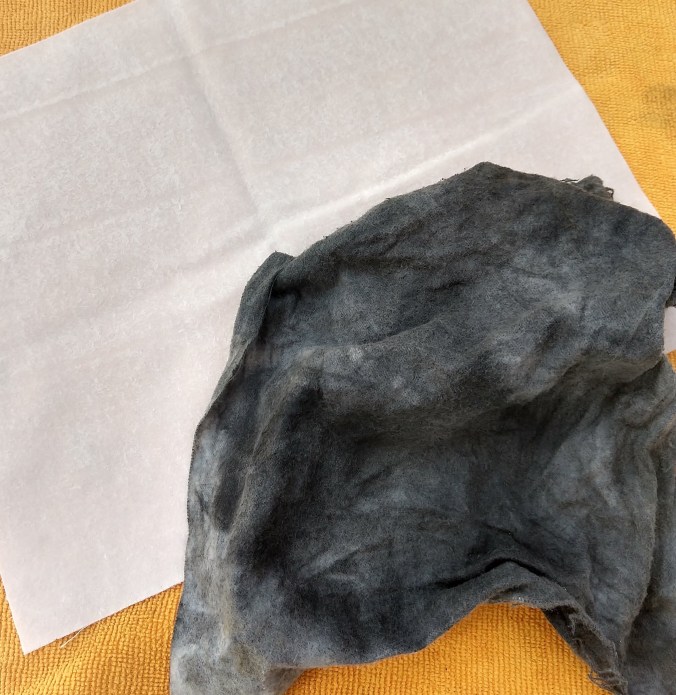
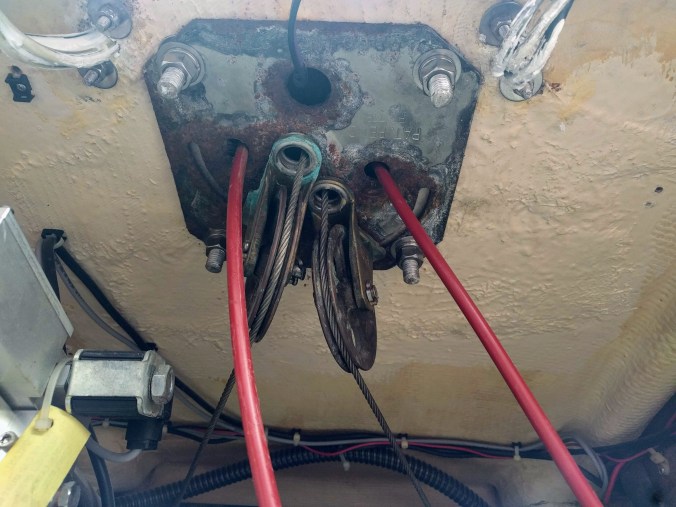
So we turned off all of the electrical breakers, and bent over the compartment, looking for more smoke and trying to sniff out the source. I restrained myself from using the extinguisher unless absolutely needed because a) it makes a gigantic mess and b) the needle pointed to empty. Oops. Mike pulled the regulator off its mounting and removed the wiring harness, pulling a pin out of the circuit board in the process and we observed a lumpy black scar between the ignition input and field output pins. We each stuck our noses in there to confirm it smelled of melted plastic, and finally determined that was the only burnt component. The new fuse was also blown of course, and that ended any electrical input and risk of fire.

We think the regulator had a short somewhere either inside the electronics or perhaps on the surface near the wiring harness, probably caused by the usual culprit – corrosion. Also, while troubleshooting, we hadn’t disconnected the solar panels. We later learned that electricity generated from those panels can backflow through the alternator and regulator if the path is available. Capt’n Mike has a plan to install an in-line breaker so that we can shut off the solar power flow.

So for now….. we’re safe! And we’ve ordered a new $300 regulator and a new fire extinguisher. (Good thing it only costs $20/night for a mooring ball) And we’ll soon find out whether replacing this component solves all of our problems. Or, if we have a lot more work to do.

My final boat project post

I promise! You must be saying to yourself by now, “I thought I was following a blog about sailing. But she only writes about DIY projects.” Well, fair enough. But in a blatant bid to get a little credit for all the hard work we’ve done getting ready for the actual sailing part of life, here’s my last post of boat projects for 2018. Hooray!

I’ve already shared with you some of the important safety and structural projects we’ve completed. Here, I’m going to share some of the smaller, less critical projects that will hopefully make cruising life more enjoyable this year. Fingers crossed!

Cockpit Shower

Sanitas theoretically has a shower in our head. It’s the simplest kind of shower: a spray nozzle attached to the faucet on the sink, with a pump to drain out the water that collects on the floor. However, we never use it. It’s too much of a mess getting the head all wet, and our composting toilet doesn’t handle extra moisture well. So even while anchored in paradise last year, I sometimes struggled with the lack of hygiene. We’ve made two improvements for this season; adding a spray faucet to the galley sink so that I can wash my hair, and installing a cockpit shower.

I am constantly amazed and impressed that Capt. Mike has the confidence to do things I find terrifying, like drilling a hole in the boat, or tapping into the fresh water system (that isn’t currently leaking) to add a new hose or water line. After the usual boat project problems with finding the right size fittings and hoses, we have a fantastic shower that fits into an cubby hole the the cockpit that we weren’t really using. It connects to the pressurized water system, and uses the water heater to provide warm water showers using a low-flow shower head designed for boats and RVs. Can’t wait to try it out in some gorgeous harbor in the Bahamas!

Soda Stream

I love me some fizzy water! Sometimes, I know I should drink more water in order to stay hydrated, but boring warm water just isn’t appealing. A pinch of crystal lite or Real Lemon often does the trick. But a cold seltzer water tastes so much better! Not to mention it makes an instant cocktail when mixed with the ubiquitous island rum and a squeeze of lime!

Last year, we brought a Soda Stream with us on our cruising adventures. But it has a couple of negatives: the plastic unit is pretty clunky and big and hard to store in Sanitas’ small galley. And more importantly, we couldn’t find ANYPLACE to buy the right size CO2 canister replacements. And we searched in hardware stores, propane shops, stores that sold kitchen supplies, marine supply stores; pretty much everyplace we could think of. So when we ran out of CO2, we resorted to buying club soda or La Croix cans which cost roughly the same as a can of beer! Plus, we had all those empty cans to eventually dispose of.

This year, Mike took a lesson from Stan on SE of Disorder, and made his own homemade soda stream. The ingenious part is that he found a little bit of unused space in the galley between the trash can and the hull of the boat to mount the CO2 canister. The hose that attaches to the water bottle comes from under the galley sink, where it is easy to access. And of course, it is a size that can be easily refilled wherever we go. Now we just need to find a buddy boat equipped with an ice maker, and we will be ready for Sundowners wherever we go!

New House Batteries

Last season, we replaced our starter battery on Marco Island once we figured out it was dead, and we were actually using our house battery bank each time we started the motor. (There’s still some important electrical stuff with the isolation switches we haven’t yet figured out, but that’s another story). By the end of the season, we found that our bank of four house batteries wouldn’t fully charge; no matter how many days of sunny weather, running the motor, or even (and this put the nail in the coffin) when we were connected to shore power overnight. Power management is a big deal to cruisers, so we bit the bullet this year and replaced our batteries. They are big. And heavy. And EXPENSIVE. But we should be good for the next five years, if we treat them nice. I did a bunch of research to find batteries that would fit in the very constrained space we have for them. Capt. Mike still had to jury rig the frame that supports the beasts. Fingers crossed that we have no more electrical issues this season!

Improving the Bed

Last year, we bought a new mattress for the V-berth. It was a definite improvement, but this princess could still feel the pea. So this year, I upgraded to a foam strip that fills in the crack where the mattress is hinged, and also added a “five zone lavender scented memory foam” extravaganza. Pretty comfy, but all these new layers barely squeeze inside the old fitted sheets.

What do you do with the extra lavender memory foam after you’ve cut the topper to fit? Why, make a hat of course! Think this will protect Capt. Mike from hitting his head on every sharp surface?

Provisioning

Somehow, it didn’t seem quite as intimidating to shop for months of groceries at a time as it did last year. Last year, I had a meltdown in Walmart, and called Capt. Mike saying “I can’t believe I’m doing this! I can’t believe I’m spending this much money on one trip to the grocery store!” He had to talk me down. I guess this year, I understand that this really isn’t the last time I’ll shop for food. Whatever I can buy here in St Petersburg, especially at Costco and Sam’s Club, will definitely be the cheapest I can find it. And those cans of chicken, black beans, and curry paste will form the basis of many a healthy meal over the next six months. But where ever people are, people eat. And therefore, we’ll be able to augment what I buy and stash away now with veggies, cheese, and meat if we run out along the way. We might even be able to find gluten free bread here and there. (Although if we can’t, that’s ok too. Probably healthier to skip bread all together). I did learn a few lessons last year. Canned green beans are disgusting. Even though I know I should eat my veggies, they are not worth putting in my mouth, so don’t bother buying them. We can happily eat Thai food at least once or twice a week. So might as well stock up on curry paste and pad Thai sauce at the local Asian market: even canned chicken tastes good this way! Fill whatever storage space is left over when we’re ready to cruise with tortilla chips. Why not? Everyone loves tortilla chips and they are easily twice to three times as expensive in the Bahamas. But eat the oldest ones first, because even a sealed bag can magically go stale in the hold of a sailboat!

Stainless Steel really isn’t

So this is going to be a boring post for the landlubbers out there. It’s basically just about cleaning. But you boat owners know that there are at least two boat projects that never end: varnishing the teak, and polishing the stainless.

And unlike many (many) boat maintenance projects, I actually tried to keep on top of the stainless steel hardware on Sanitas last cruising season. Especially on the bow, which is constantly covered in salt water and gets incredibly rusty incredibly fast, I spent several otherwise lovely afternoons scrubbing. But I never really got it perfectly clean, and I just assumed I was doing it wrong.

So while we were in the boatyard, and time and fresh water were plentiful, I decided to go all in. I RESEARCHED. Reading articles on Practical Sailor, YachtUnlimited, and Boatlife, and went down the rabbit hole of way too many discussion threads. I weighed the relative advantages of “Best Value” cleaning products vs highly rated cleaning products, and you always need to consider environmentally friendly options. I may have gone overboard on buying cleaning products.

I didn’t do the greatest job of capturing the full extent of the rust problem, but here are a few examples of how terrible it looks:

So I spent the next three days scooting around on my butt on the non-skid deck (ouch) attacking every bit of rust with a microfiber cloth or a toothbrush. Are you curious which stainless product worked the best? NOT the super expensive Flitz polish I could only find on eBay. NOT the super cheap turtle wax automotive polish I could find at Walmart. (Although it wasn’t half bad) but the Miracle Cloth is truly and totally miraculous. No waiting, no scrubbing. It even took the rust off the bow sprit. And even off the standing rigging and life lines. I’m sold. Not to mention that it is made with coconut oil that smells so…. good… every time I open the bag. Do you think if I write enough good things about it they will sponsor me and send me a lifetime supply? In theory, you can use the miracle cloth over and over again, but I may have pushed it to the limit. The white square in this picture is a new, pristine miracle cloth, and the crumpled black blog is one that I used for a few hours one afternoon. it still kind of works, but it isn’t much fun to touch.

Checkout the fashionable outfit that all the cool kids wear while polishing the stainless steel with a toothbrush! As an added bonus, you can see how bad the teak woodwork looked before I refinished it. It’s a great reminder. I’m already used to how much better the woodwork looks, and I’ve forgotten how much it needed all of those long hours of effort!

I’ve heard other boat owners describes as “she’s so meticulous at keeping her boat pristine. She’s out there every day with a toothbrush.” Huh. Maybe I have become that boat owner?

Here are a few photos on the shiny stainless post-polishing.i don’t think they do it justice. Maybe I will post a few more, just to capture the one moment in time that all of Sanitas’s stainless steel is shiny and clean, before we untie the lines, head into the waves…….and start accumulating rust once again!

Boat Project #1 – Fixing the Leaks

Jumping back in time a bit, this is the first project Capt. Mike and I took on when we returned to the boatyard after our summer vacation. We had done a pretty good job of preparing Sanitas for storage; we didn’t have any serious problems with bugs, mold, or rain water intrusion. Or at least that’s what we thought at first….

Upon closer inspection (i.e.: crawling back into the quarter berth and discovering it was squishy) we found three different leaks that needed to be addressed first thing! The simplest project was re-bedding the fresh water deck fill. Basically, the hardware that allows us to hook up a hose and fill the aft water tank was old, and no longer sealed properly. Now rain water could get around that fitting and flow into the cockpit lockers, soaking the items that we store there, and creating a rusty, slimy mess. Oh what a difference a year makes! Last year when we discovered leaky deck fittings, we agonized over how to fix them, what sort of adhesive to use, and the relative virtues of butyl tape. This year, Capt. Mike jumped right in and replaced the O-rings and fixed the seal in just a couple of hours. I think he even did it with only one trip to West Marine!

As always happens in boat projects, fixing one problem leads to finding a new problem. BECAUSE all that water had been leaking into the cockpit locker, the bulkhead that divides the storage locker from the living space inside the boat was seriously rotted, and was the cause of our squishy-slimy quarterberth. So Capt. Mike addressed Leak #2 by digging out the black, rotten wood with a screwdriver and scraper. Once he finally reached good (not rotten) wood, he used a dremel to cut out material to be patched. Now it turned into a normal boat project, because we had to put this whole effort on hold for a few days while ordering and waiting for delivery of new dremel heads – this project burned through them fast! After cutting out all the rotten wood, Capt. Mike cut a new solid piece of wood to fit the hole, epoxyed it in place, and applied fiberglass mat to seal it all. A final coat of paint to make it pretty, and this second leak was also vanquished.

The final cockpit leak snowballed into quite a large project. During one of Capt. Mike’s frequent trips into the bowels of the boat to inspect the transmission and steering systems, he discovered that tons of water had been leaking through the base of the steering pedestal, causing lots of sensitive equipment below to rust and corrode faster than necessary. So we decided to re-bed the steering pedestal too.

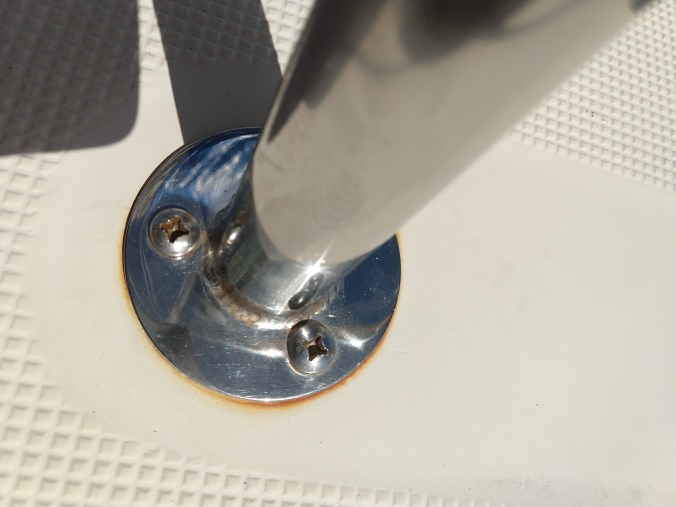
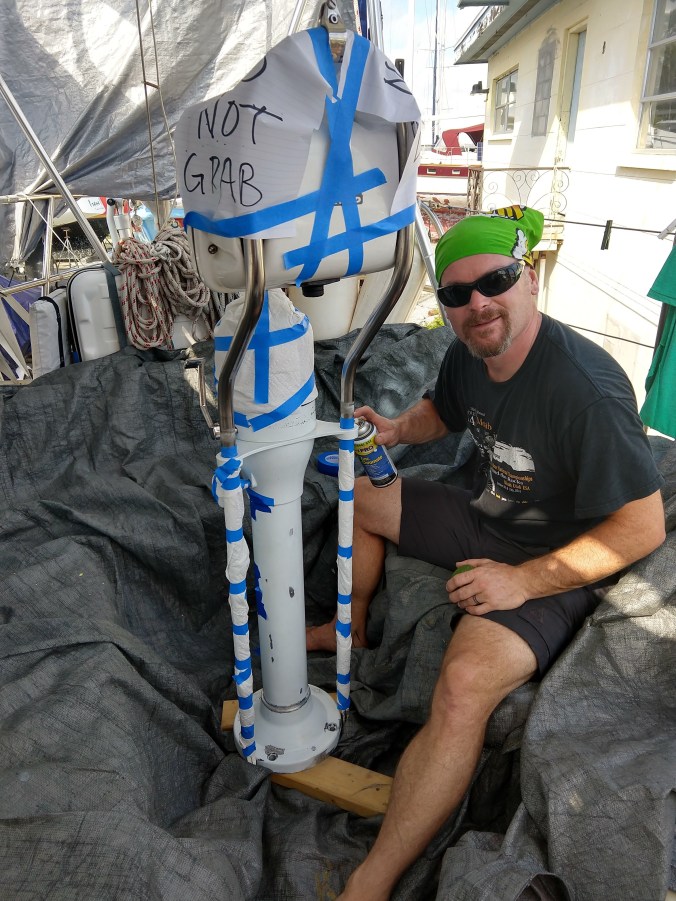
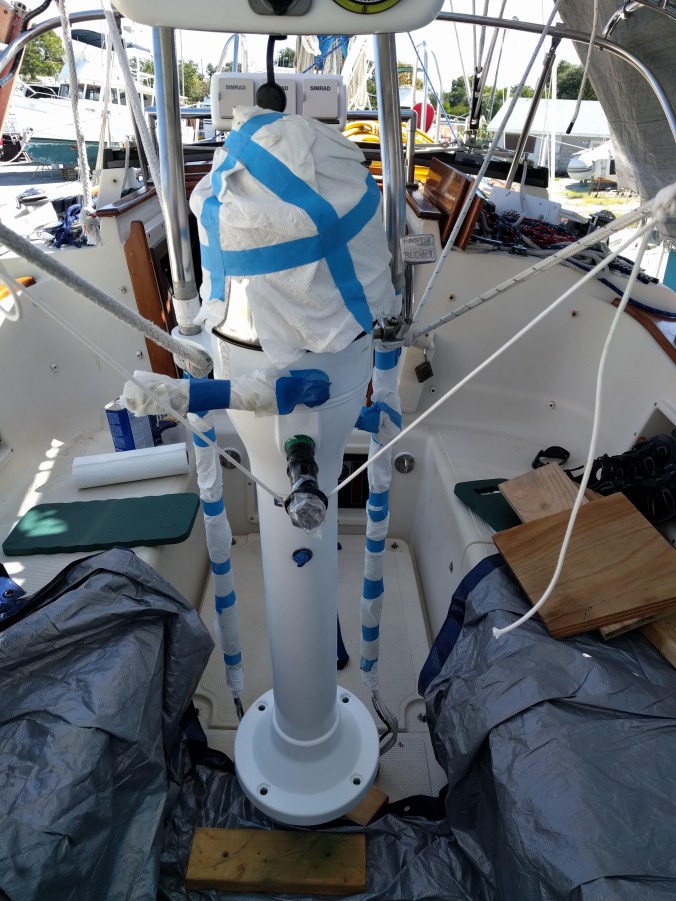
But once we started looking closely at the steering pedestal, we noticed the paint had blistered and developed corrosion underneath. The quick re-bedding project turned into a week-long effort to sand down the blemishes, apply aluminum primer, and to apply four or five coats of white paint. All performed within temperature and humidity levels higher than the manufacturer’s recommendation! we had the cockpit all strung up with trip hazards and “Do not touch -wet paint” signs for over a week, even suspending the steering pedestal in mid air for much of the time to allow it to dry completely.

I have never claimed to have good balance, and if there’s something available to stub my toe on, I will stub it. So believe me, I was thrilled to finally complete these cockpit projects and to restore relative order to the boatyard chaos. And ….no more cockpit leaks!